Hardwood floors add warmth, elegance, and value to any home. However, over time, scratches, dullness, and wear can take a toll. With the right hardwood floor refinishing tips, you can restore your floors and make them look brand new.
Refinishing enhances the beauty of your floors and protects them from further damage. Whether you’re a DIY enthusiast or prefer professional help, this guide will walk you through every step of the process.
Hardwood Floor Refinishing Tips for a Flawless Finish
Step 1 – Assess the Condition of Your Floors
Before starting, it’s essential to determine if your floors need refinishing. Look for signs like deep scratches, uneven coloring, or worn-out areas. If the damage is light, such as minor surface scuffs, a polish might be enough. However, for deeper damage, refinishing is the way to go.
To decide, ask yourself:
- Are there visible scratches or dents?
- Has the stain worn off in high-traffic areas?
- Does the floor look dull or faded?
If you answer yes to any of these, refinishing can bring your floors back to life. For floors with severe damage like water stains or warped boards, consider consulting a professional.
Step 2 – Gather the Necessary Tools and Materials
Having the right tools and materials is key to a successful project. Here’s a list of essentials for how to refinish wood floors:
- Sanding equipment (drum sander, edger, sandpaper in various grits)
- Wood stain for coloring
- Polyurethane sealant for protection
- Cleaning tools (vacuum, tack cloth, broom)
- Safety gear (dust mask, goggles, gloves)
- Paintbrushes or applicators for stain and sealant
High-quality products can significantly improve your results. If you’re unsure about the right stain or sealant, ask a professional or check product reviews for recommendations.
Step 3 – Prepare the Space for Refinishing
Preparation is a critical step that saves time and ensures a smooth process. Start by clearing the room entirely—remove furniture, rugs, and any décor. Once the room is empty, clean the floor thoroughly to remove dust and dirt.
Next, seal off other areas of your home using plastic sheeting. This prevents dust from traveling into other rooms during sanding. Lastly, ensure proper ventilation by opening windows or using fans. A well-prepared space helps you focus on the task without distractions.

Step 4 – Sanding the Floors
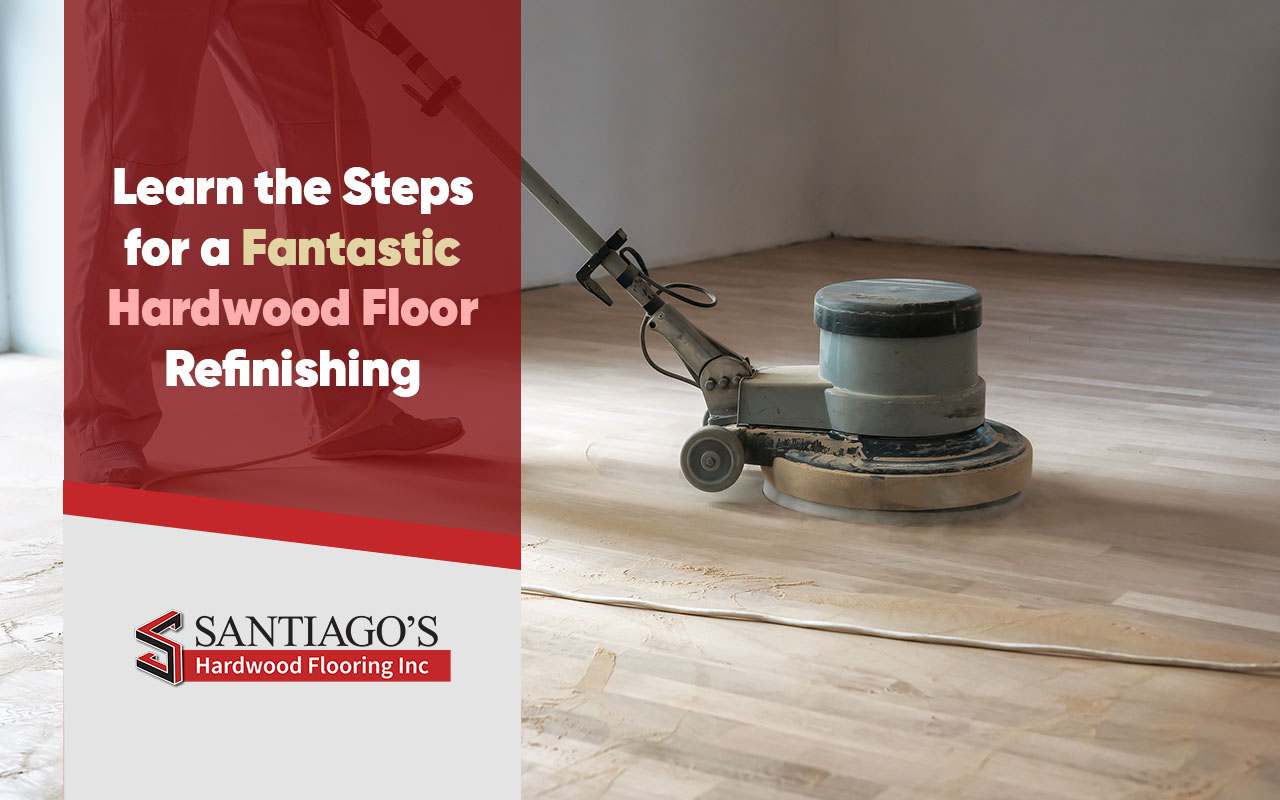
Sanding is one of the most important parts of the refinishing hardwood process. It removes the old finish, smooths out imperfections, and prepares the surface for staining.
How to sand your floors:
- Start with coarse-grit sandpaper to remove the old finish.
- Move to medium-grit sandpaper for smoothing.
- Finish with fine-grit sandpaper for a polished surface.
Use a drum sander for large areas and an edger for corners and tight spaces. While sanding:
- Keep the sander moving to avoid uneven spots.
- Sand with the grain of the wood for the best results.
- Replace sandpaper as needed to maintain effectiveness.
Take your time with this step—proper sanding creates a perfect base for the next stages.
Step 5 – Clean Up Dust and Debris
After sanding, cleaning is critical. Dust and debris left on the floor can ruin the stain and sealant. Use a vacuum to remove as much dust as possible. Then, wipe the floor with a tack cloth to pick up fine particles. Repeat this process until the floor is spotless.
Pay close attention to corners and edges, as dust tends to accumulate in these areas. Skipping this step can lead to uneven finishes and extra work later.
Step 6 – Apply Stains and Sealants
With the floor clean and smooth, it’s time to apply the refinishing stains. Choose a stain that complements your home’s décor, or consider a bold new color for a fresh look. Stains enhance the wood’s natural grain and color, adding character to your floors.
Steps to apply stain:
- Test the stain on a small, hidden area to ensure you like the color.
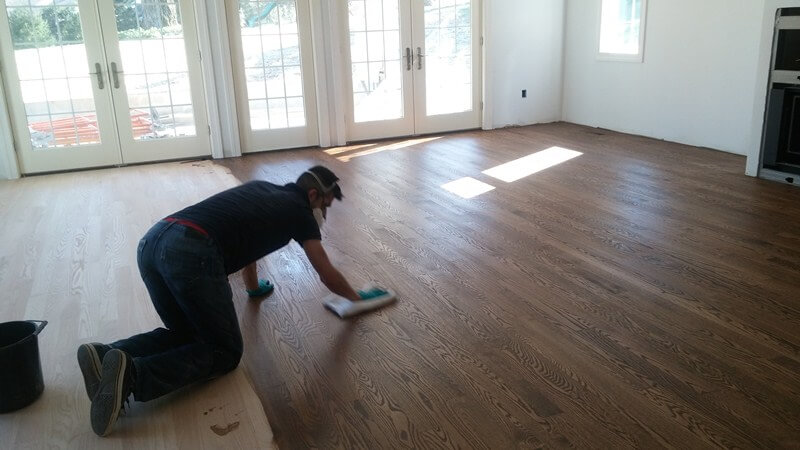
- Use a brush or cloth to apply the stain evenly.
- Wipe off excess stain and let it dry completely.
Once the stain is dry, apply a sealant to protect the wood. Polyurethane is a popular choice because it provides durability and shine. Apply the sealant in thin, even coats, allowing each layer to dry before adding the next. Proper sealing ensures your floors stay beautiful for years.

Hardwood Floor Refinishing Tips for DIY Projects
Pros and Cons of DIY Wood Refinishing
A DIY wood refinishing project can be rewarding and cost-effective. You’ll save on labor costs and have complete control over the process. However, DIY refinishing requires time, patience, and the right tools.
Pros:
- Save money by avoiding professional fees.
- Personal satisfaction from completing the project yourself.
- Flexibility to work on your own schedule.
Cons:
- Requires significant time and effort.
- Mistakes can be costly to fix.
- May need to rent or purchase specialized equipment.
For smaller rooms or floors with less damage, DIY refinishing is a great option. However, if you’re tackling a large area or major damage, consider hiring professionals.
When to Call in the Professionals
Not all refinishing jobs are suitable for DIY. If your floors have deep scratches, warped boards, or uneven surfaces, professionals can help. They have the tools and expertise to handle challenging situations and ensure a flawless finish.
Additionally, professional services save time. What might take a homeowner several days can be completed in a fraction of the time by a professional. While it’s an added expense, the results are often worth it.

Additional Tips for a Successful Refinishing Project
Choosing the Right Refinishing Products
Using the right products is essential for achieving a high-quality finish. Look for stains and sealants specifically designed for hardwood floors. Oil-based products provide a traditional look and durability, while water-based options are eco-friendly and quick-drying.
If sustainability matters to you, consider using low-VOC or non-toxic products. These are safer for your family and better for the environment.
Maintaining Your Refinished Floors
Once your floors are refinished, proper maintenance keeps them looking great. Follow these tips to protect your investment:
- Sweep or vacuum regularly to prevent dirt buildup.
- Place mats at entryways to reduce wear from foot traffic.
- Use furniture pads to avoid scratches.
- Clean spills immediately to prevent stains.
With these precautions, your refinished floors will retain their beauty and durability for years.

Ready to Refinish Your Hardwood Floors?
By following these hardwood floor refinishing tips, you can transform worn-out floors into stunning showpieces. Whether you’re doing it yourself or hiring a professional, each step matters in achieving a flawless finish.
Ready to start your refinishing project? Contact us today for expert advice or to schedule a consultation. Let’s bring your hardwood floors back to life and make your home shine again!
