

Hardwood floor repair can be seen as difficult. Even the best wooden floors can be damaged. As the name suggests, hardwood floors are supposed to be very hard. However, compared to other materials such as tile, stone, and laminate, it is relatively soft and susceptible to damage such as scratches, gouges, and discoloration.
Unfortunately, surface scratches and dents inevitably result from everyday wear and tear. We’ll show you how to fix minors and dents. If your floor has a lot of scratches and dents, it’s time for floor repair.
The cost of refurbishing a parquet floor depends on the condition of the floor, the type of wooden floor, and the number of square meters to be treated. Restoring hardwood floors can be a significant undertaking, including moving furniture, bringing in a drum sander or other floor sander, protecting the rest of the house from dust, and removing odors from polyurethane or other finishing product.
Nonetheless, we will provide you with the best guide to make the repair. Remember, it is always better to call a professional if you need more knowledge when using the tools.
Tools You Will Need
- Flat bar or pry bar
- vacuum or dust extractor
- Cordless circular saw (with vacuum attachment)
- Oscillating multi-tool
- Air compressor
- Ridgid 15ga finish nailer
- Belt sander (with vacuum attachment)
- Orbital sander (preferably with vacuum attachment)
Materials You will Need
- #0000-grade Super-fine non-soap steel wool (for fine scratches)
- Multipack floor color marker paste (resin-based) or stain markers
- Fine-grit sandpaper (for deeper scratches)
- Solvent-based wood filler (pre-colored or one that accepts stain; for deeper scratches)
- Matching wood stain (optional; for both types of scratches)
Repair Hardwood Floor Scratches
Repairing hardwood floor scratches is an essential part of maintaining the longevity and beauty of your floors. Fortunately, it’s a simple task that can be achieved with minimal effort. You can fill in minor surface scratches yourself using a few standard household supplies and tools — wood putty, sandpaper, a wire brush, and some elbow grease.
Small scratches on wooden floors can often be buffed with steel wool or sand with finer and finer grit sandpaper. This blog will teach you the best steps to make an excellent hardwood floor repair.
Thin Scratches
1 Step
Minor scratches on hardwood floors are thin and shallow, less than 1/16 inch deep. These types of scratches can be caused by moving boxes or chairs on the floor. For fine scratches, choose a resin-based dye or stain marker suitable for floors. Wax markers are great for furniture repairs. Pick a floor paint marker or stain stick that resembles the color of your floor. Test the dye on an unseen area to determine the closest color. The floor colors can be mixed if desired to get the perfect shade.
2 Step | hardwood floor repair
Apply Colorant. Lightly brush the finished floor paint over the small area of the scratch. If successful, continue with the rest of the scratches.
3 Step
Rub the affected area. After the paint has dried, lightly rub the scratch with fine steel wool. Gently clean the area with a vacuum cleaner cloth to remove microscopic dirt particles.
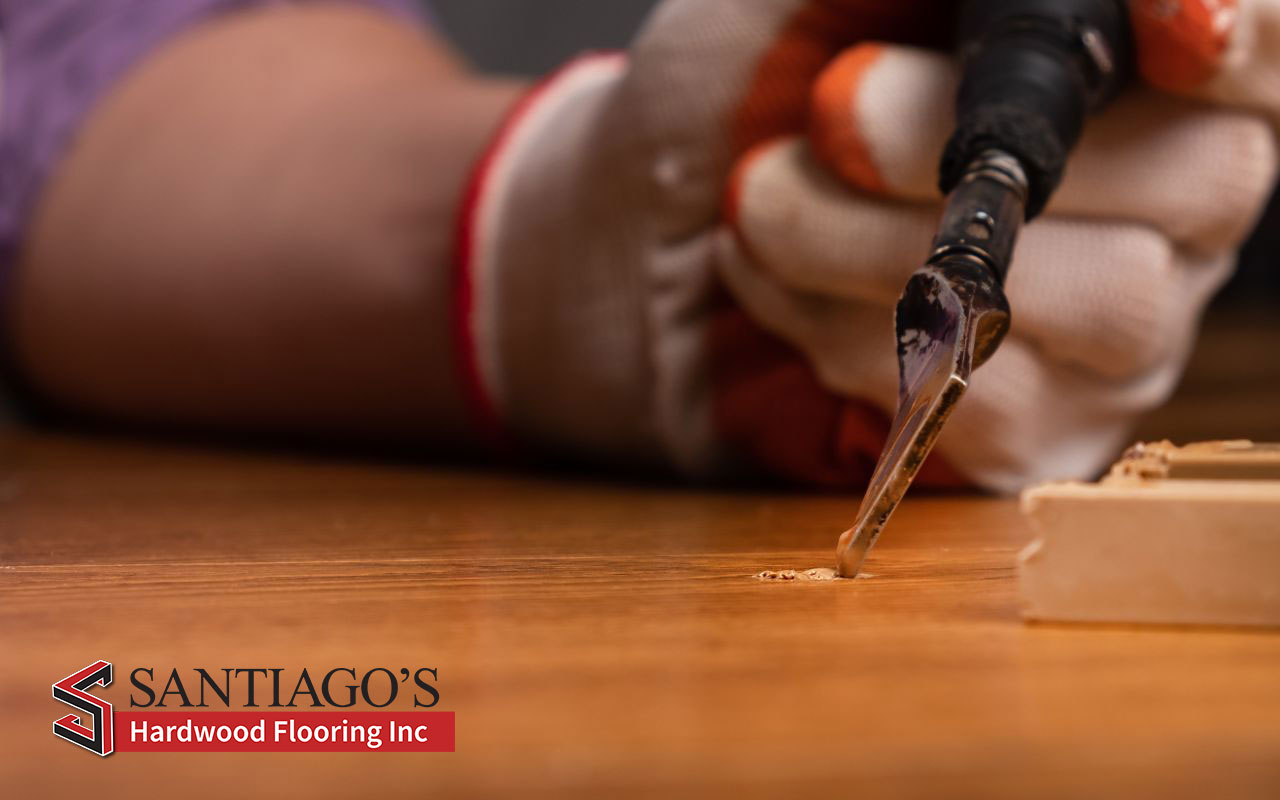
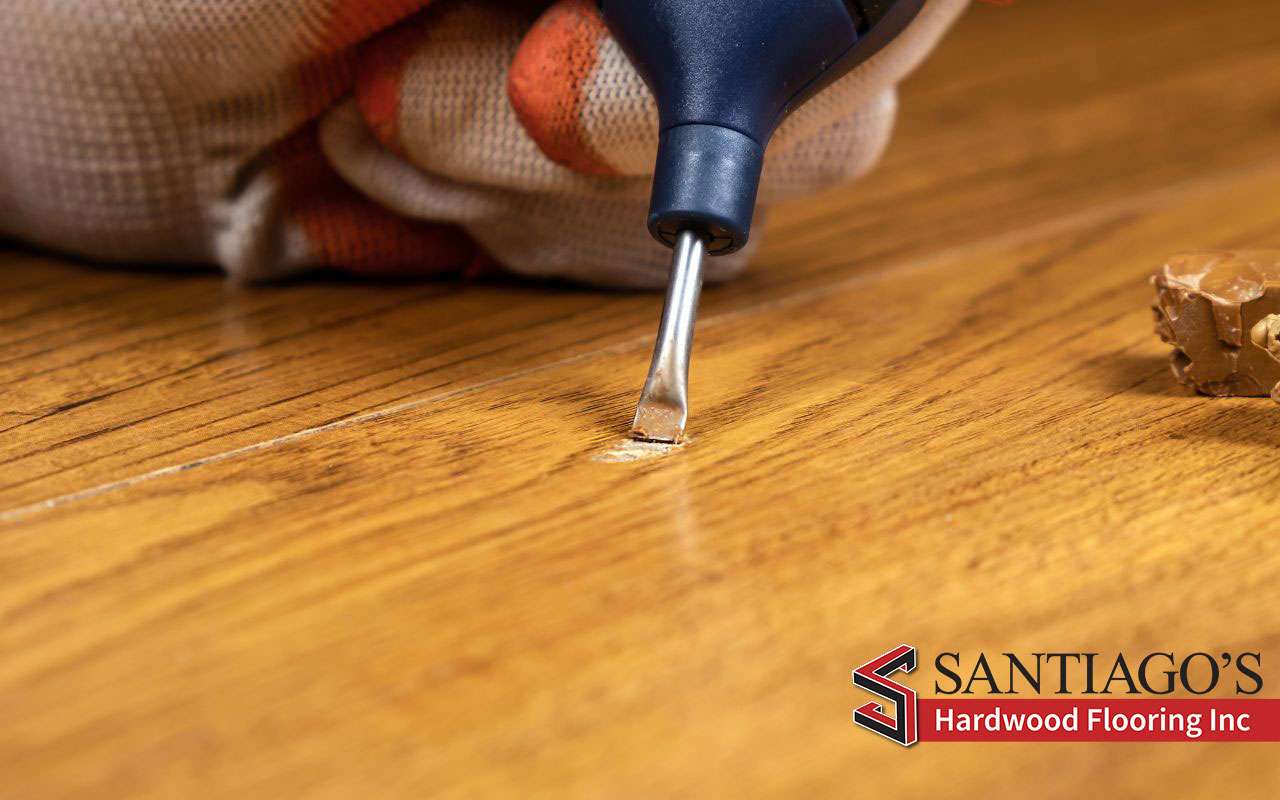
Deep Wound Repair | hardwood floor repair
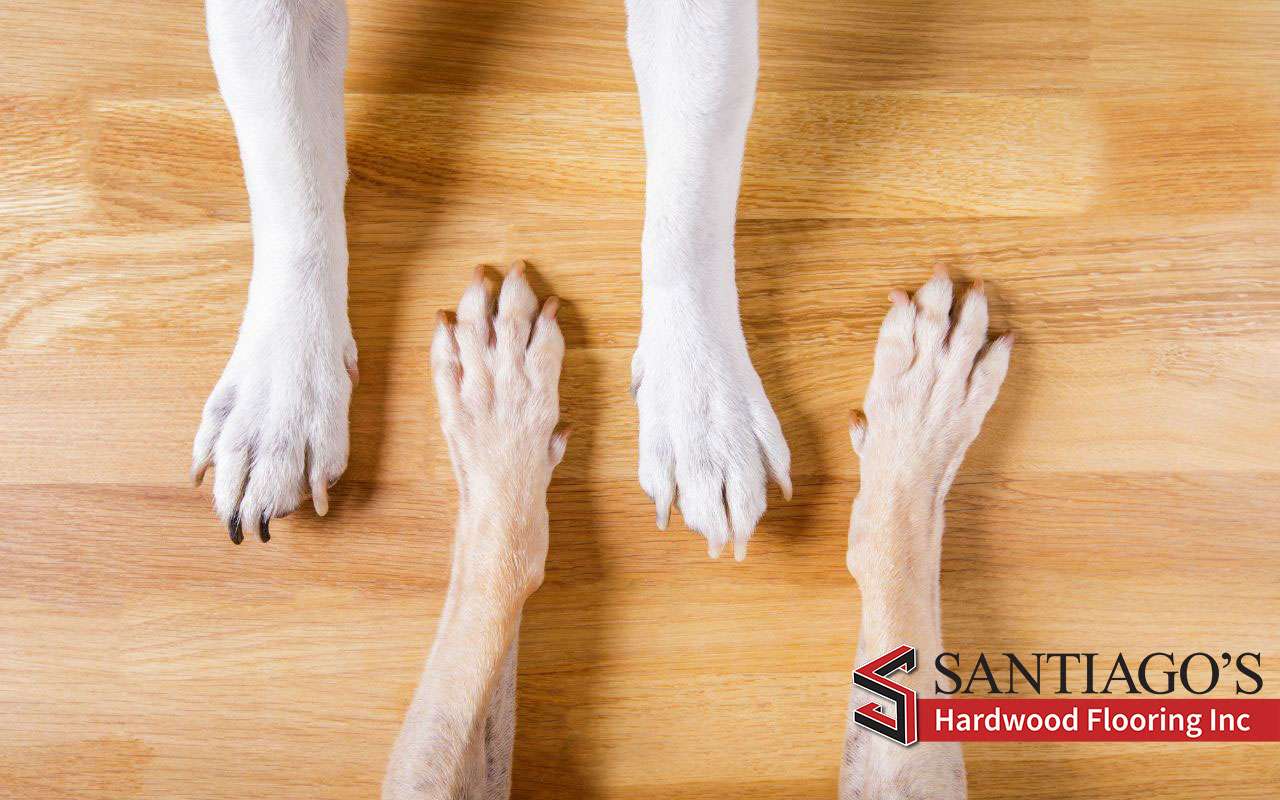
Dog claws, heavy furniture, or appliances pressed against the floor cause scratches over 1/16 inch deep on hardwood floors. However, if you have even more deep scratches, it’s better to call a professional. If you have many deep scratches and hardwood floors, sanding the entire floor is the best option. But it’s a good idea to fill in deeper imperfections and blend the color for more topical blemishes. Now use a wooden spatula.
1 Step
Apply wooden filler. Prepare a wooden spatula for scratching. Use a spatula to push the wooden spatula into the wound and gently stay within the damaged area. Lubricate the wet putty. Wipe off the excess dirt while the wooden spatula is still damp.
2 Step | hardwood floor repair
Let the filler dry for at least 2 hours.
3 Step
Complete the filler. After drying, sand the wood filler by hand. Do not sand the floor around the scratch repair. As a result, you will see a great floor looking like new.
Preventing Future Damage to Your Wood Floors
The best way to prevent damage to your wood floors is to care for them properly. Regular cleaning and vacuuming are essential for keeping dirt, dust, and debris from accumulating in the cracks between planks and causing scratches or dulling the finish. Place rugs and mats at doorways to catch dirt before it reaches the floor.
Furniture feet should be equipped with felt or plastic protectors to guard against scratching. In high-traffic areas, use area rugs to shield the floor from wear and tear. Avoid wearing shoes with hard heels or soles on your wood floors, as these can cause deep scratches. Humidity levels in the home should also be monitored; overly dry air can cause wood floors to shrink and create gaps between planks, while overly humid air can warp the boards.
Get Professional Assistance
You can get in touch with us to receive better attention and have the best results! Santiago’s Hardwood Flooring Inc. is your best option. With more than 10 years of experience, we have been delivering excellence and top results in all our services. Contact us and get your free quote now!