The hardwood floor installation process can be a challenging task; however, many homeowners risk turning it into a DIY job. If this is your case, check this complete and detailed guide on how to install hardwood floors.
Types of Hardwood Floor Available
Before starting the installation process, you must carefully choose the type of hardwood floor you want for your home. There are many factors to consider when choosing the right product, such as where you plan to install it, as well as the available colors, species, and sizes.

Solid or Engineered Hardwood Floors
The main difference is that the first one is pure wood, while the second one includes a layer of wood specie. Solid hardwood flooring can be easier to repair and install. However, an engineered hardwood floor doesn’t require plywood subfloors underneath, which means you can install it over a concrete slab.
Unfinished or Pre-Finished
Finishing options will determine the color and how you’ll clean your hardwood floors. With prefinished options, the finishing happens on the fabrication site, while with unfinished floors, it happens after the installation.
Unfinished hardwood floors have the advantage that you can match their color with hardwood floors in other rooms in your house.
Hardwood Flooring Materials Available
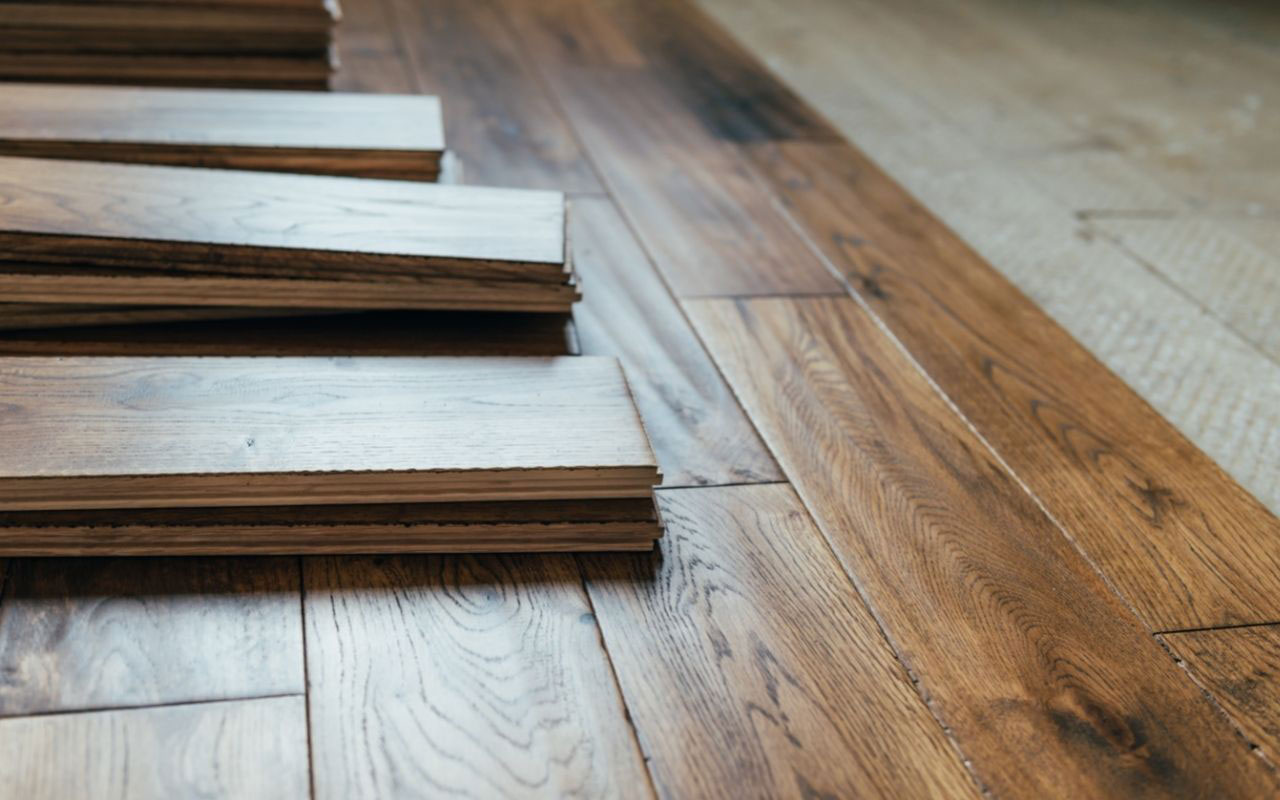
Some of the most popular solid wood species can be oak, maple, or walnut. Hickory and mahogany are other exotic yet good options. To make an informed decision, research the advantages and drawbacks of each hardwood specie, for example, hickory vs. oak flooring.
DIY Route On How to Install Hardwood Floors
You first need to know that it will be challenging or even stressful, as you’ll probably come across some limitations. Not every room has the same qualities and requirements. Likewise, not every step has the same difficulty level, as some require special skills.
Here is a DIY step-by-step guide to know how to install hardwood floors by yourself:
Develop a Proper Plan to Install Hardwood Floors
Once you have already chosen the type of hardwood floor, measure the room and calculate the square footage to plan where you will start carefully.
Gather all the tools you’ll need:
- Tape measure and pencil
- Protective mask, glasses, shoes, and gloves
- A jigsaw (or another type of saw) to cut the hardwood floor planks if necessary
- A pull bar
- A square
- A hand drill
- A hammer and a tapping block.
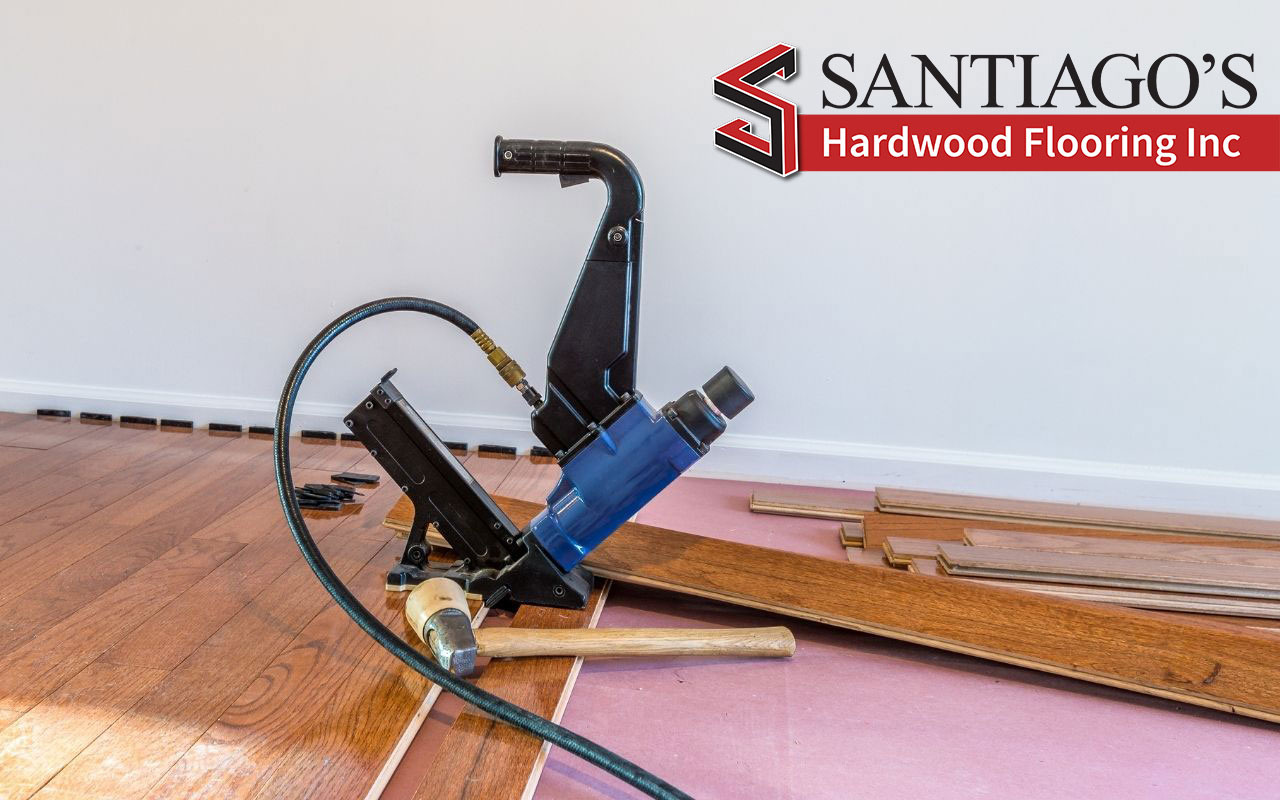
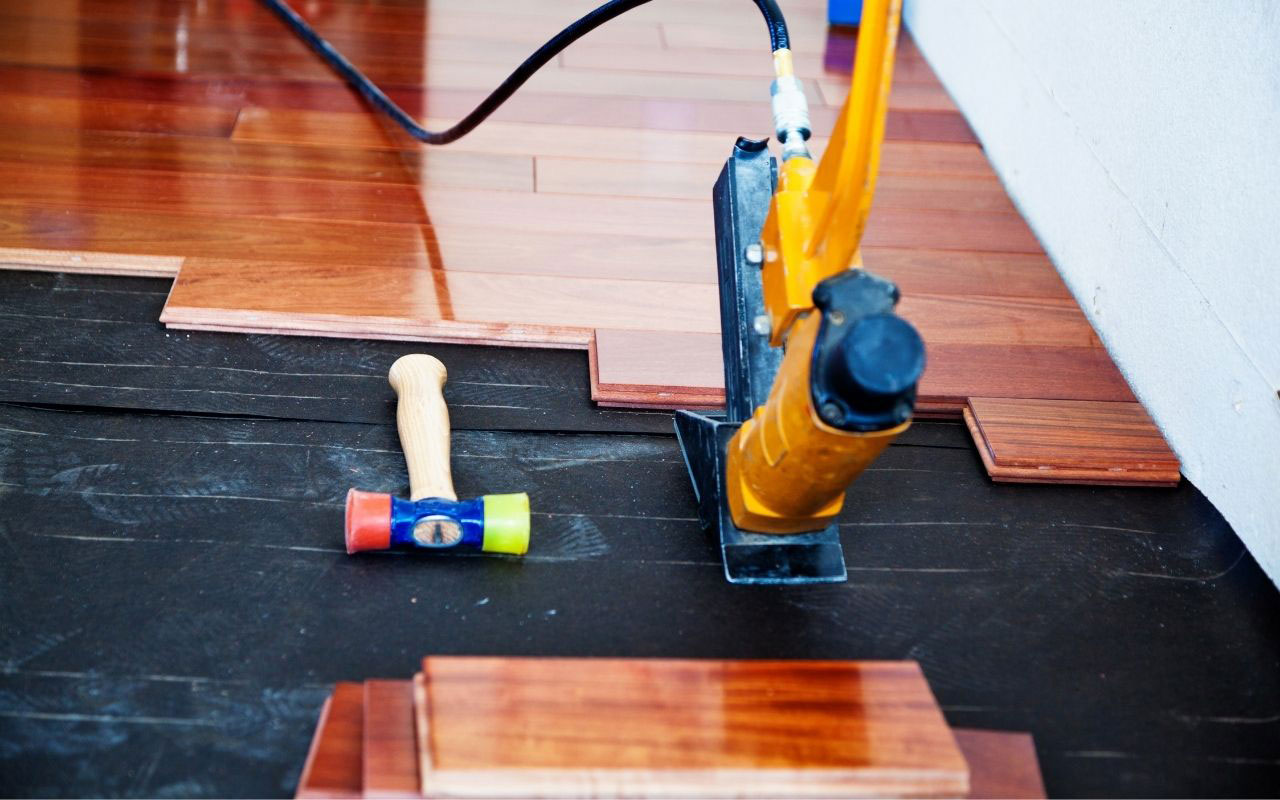
- Depending on the installation method, you will need a flooring nailer or stapler, as well as nails or staples.
- A special flue
Always check the factory instructions to see any warnings regarding the recommended tools.

Preparation On The Subfloor
During preparation, you should remove the floor from its package and let it acclimate to the environment for about a week before installing it. This process is necessary due to wood naturally changes with temperature.
If you intend to floor a room previously covered with carpet or floor, remove the existing floor or carpet and remove all staples. Some manufacturers include preparation instructions; check them before you start.
The surface must be clean. When you vacuum the floor, you’ll have another chance to find staples from the previous floor, as well as to clean up any debris on the subfloor.
Once it is all clean, you could check if the subfloor is even or not. You may need to add a self-leveling compound if it is not level. Without this, you’ll have an uneven floor or won’t even be able to install it.
Add an Underlayment
Although this is not a mandatory step, adding an underlayment could give your floor more stability and sound insulation. Some underlayment options available are felt and foam. Some manufacturers require a vapor barrier to protect the floor from moisture.
Determine The Starting Point
As already mentioned, not every room has the same specific requirements. You could start with the straightest wall, the edges, the wall that connects the room with another room, or the entrance. The appropriate starting point will determine a successful installation.
It is recommended to leave an expansion gap of around ¼ or ¾ on the perpendicular walls to the starting point.
Place The First Rows of The Hardwood Floor

As you won’t be able to use the pneumatic nailer against the wall, face nails the first rows over the tongue and then blind nail it. Countersink the nail to avoid interference when fitting the tongue into the groove of the second-row board.
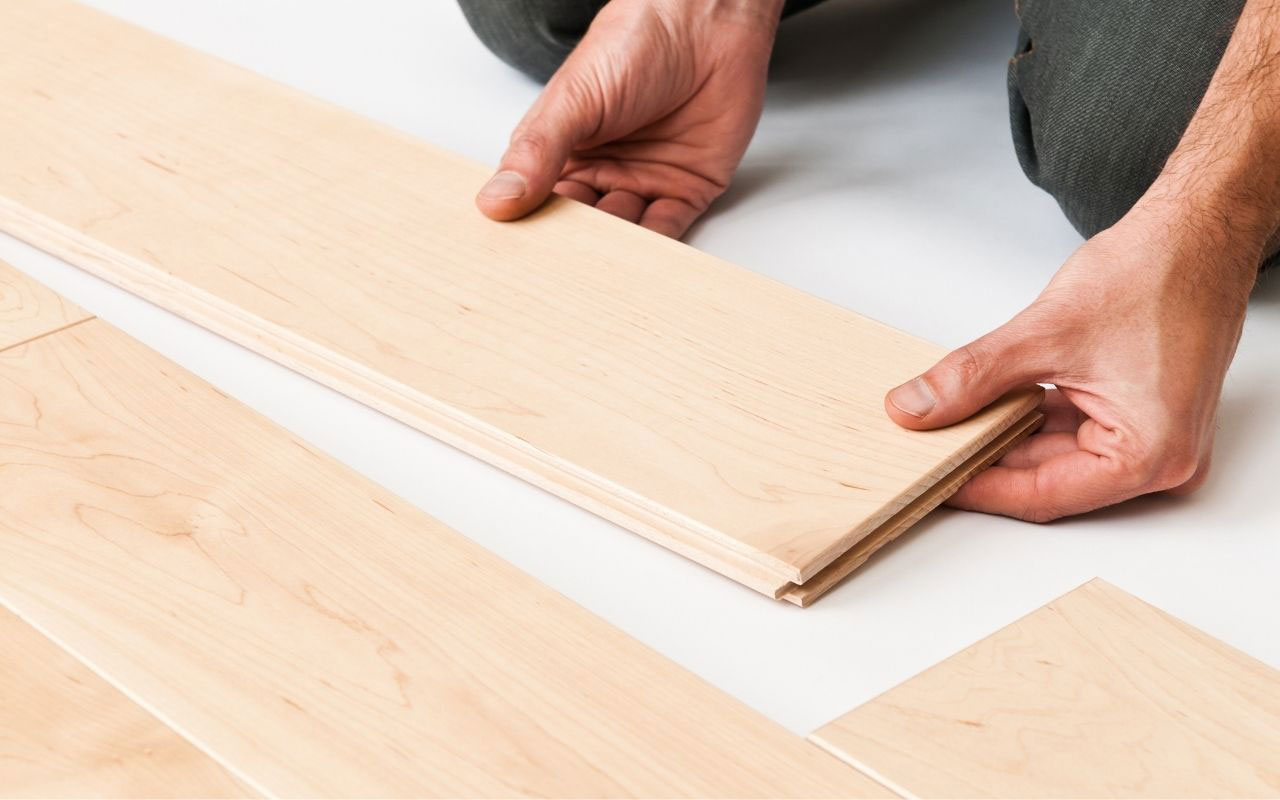
Attach the first row of hardwood planks through their tongue and groove connections. Use the leftover pieces as the beginning of your next row if you had to cut some planks to fit the room’s dimensions.
Tap the second-row board to fit the first one. Always use a tapping block to protect the planks from the hammer. Press the row downs for proper adhesion to the subfloor.
Follow The Procedure
Continue connecting all the rows until you get to the finish point. Make sure the plank is secure against the previous row. You’ll probably need to cut the boards with the jigsaw for a proper adjustment for the last row.
Last Details for Installing Hardwood Floor
Once you installed all your hardwood boards over the desired area, clean and vacuum the floor to remove loose dirt. Reinstall and attach the trims. Remember to keep some leftover boards in case of future repairs.
Get Professional Assistance On Hardwood Floor Installation

Installing hardwood flooring by yourself can be a challenging task for any homeowner. Knowing the process can make you more conscious about how to choose the right hardwood option. Likewise, with this understanding, you can now ensure you find properly trained contractors.
No matter the floor you choose, it is always a significant investment. That’s why it is vital to have proper training before the installation. Additionally, its performance will depend a lot on the installation.
If you need assistance on your next hardwood floor installation project, contact our professionals at Santiago’s Hardwood Flooring Inc.
Call us to obtain an estimate on our hardwood floors installation in Philadelphia, PA.
